
Spring is a great time to take your bike out of storage and get it ready for the season. There are several tips by which you can handle yourself to keep your bike running smoothly, but you will want to make sure that every part is well-lubricated. A common mistake people make when doing their own basic bike maintenance is forgetting about the chain. This article will walk you through how to do your own basic bike maintenance and basic routine checklist, especially for beginners and also for experience holders so that it runs smoothly and lasts longer overall.
DIY bike maintenance

If your bike is in need of some basic ailment, use this guide to check your ABCs:
- Air pressure. Your tires should be inflated to their maximum recommended pressure. Check the manufacturer’s recommended PSI and make sure you have a pump that can reach it (most pumps don’t). If your air pump lacks enough oomph, consider investing in a floor pump instead—or bring your bike into the shop for professional inflation. check the tube air pressure regularly for better mileage.
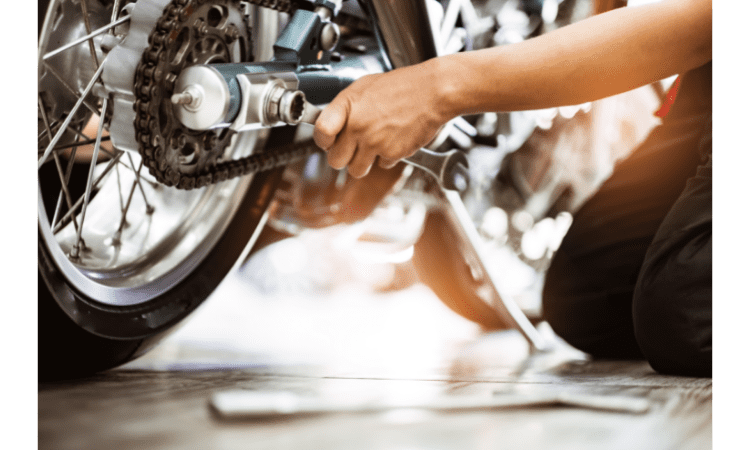
- Chain wear. The chain connecting the crankset to the rear sprocket should not be allowed to get so slack that it falls off; if it does fall off, replace it immediately before riding further! You’ll know if this has happened because then there is no tension on either sprocket and they will spin freely with no resistance whatsoever when you try pedaling forward—but even before this happens there will be friction between each cog as they turn together which means they’re not spinning efficiently anymore either way as soon as something goes wrong with any single link within them (either through normal wear-and-tear or due accident damage).
- Brakes function test: Make sure both brake calipers are fully closed when squeezing levers; also ensure pads are in good shape without becoming worn down beyond their limit–if possible try rotating the front wheel while holding the lever down fully depressed against the handlebar grip (with index finger)–this can cause real damage if performed improperly so proceed carefully. Go on a test drive and check your two-wheeler stops properly when applying the brake.
Maintain your Motorcycle seasonally and after big outings
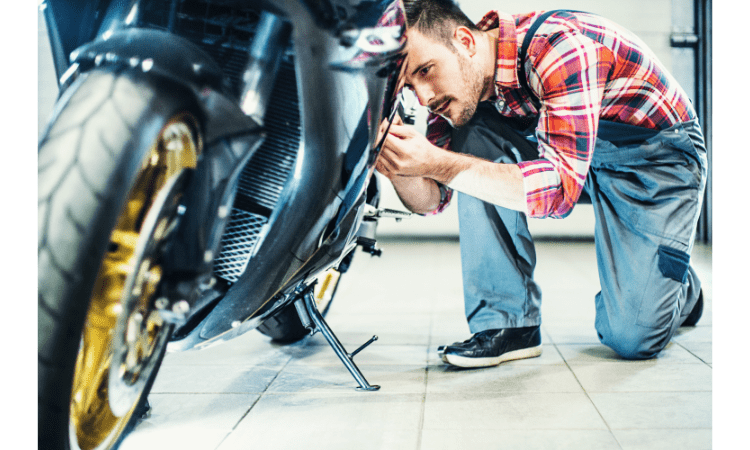
- The first thing you’ll need is to take your bike out of storage and inspect it for any damage. Make sure there aren’t any cracks in the frame or fork and don’t forget to check the wheels and gear as well. If you find anything that looks out of place or cracked, have a professional take a look at it right away. check whether everything is in order or not. Keep it dirt free.
- After checking for damage and finding none, give your bike a good tune-up before taking it out on the road again. This involves changing the oil (if applicable), cleaning off grease and dirt build-up with solvent wipes, tightening bolts/nuts that may have loosened over time (often referred to as “torquing”), checking tire pressure, and replacing worn tires if necessary. You can get more specific instructions on how exactly these tasks should be completed online by searching for “[bike brand] maintenance”.
- Finally—and this one is important—make sure your chain doesn’t need replacing! If you’re not sure whether or not this is necessary yet but feel like something might be wrong with yours because it seems louder than usual lately when pedaling forward quickly around corners…that’s probably because there IS something wrong with it! Don’t wait until tomorrow morning when there’s still plenty left from yesterday afternoon before getting this taken care of ASAP: Consult someone knowledgeable about such things who will be able to tell whether or not there are any issues worth worrying about right away; otherwise, just go ahead and replace both sprockets inside their respective locations followed by reassembling everything else back together once again afterward so nothing gets lost during transport (or worse yet stolen!).
Tighten up the bolts, tune up bike at home as needed
Now that you have a good understanding of how your bike works and its parts, you can check the bolts on your two-wheeler. If any of them are loose, tighten them up with a torque wrench. To improve your skill easily, you can get training by watching some related videos on youtube.
You should use a torque wrench anytime you’re working on your two-wheeler to ensure that bolts are tightened correctly. A torque wrench measures the amount of force (in pounds) applied to each bolt as it’s tightened into place. The most common way to handle this is by placing an adjustable collar over the bolt head and turning clockwise until it becomes snug; then back off slightly until there’s no movement or resistance when pulled toward yourself—this indicates that it has reached its maximum tension level.
Keep these basic bike repair tools on hand
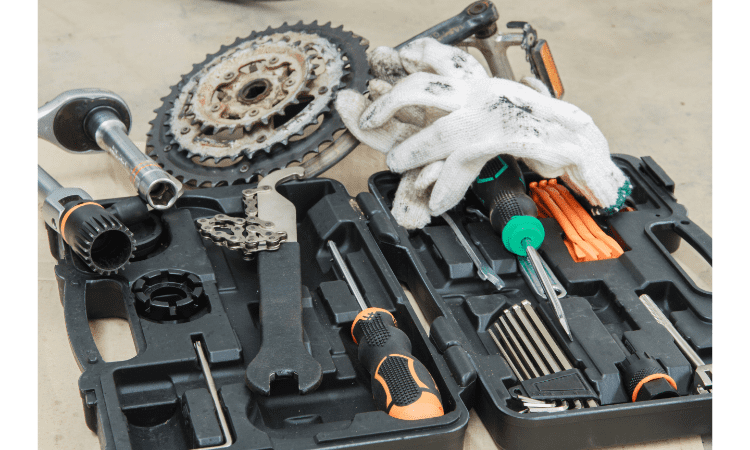
You’ll also want to keep a small bottle of two-wheeler lube, some grease, and a rag handy so you can make sure your chain is well-lubricated. And don’t forget the puncture kit! If you plan on riding in areas where there’s a higher risk of flats (like mountain biking), it’s important to have tools that can help fix those issues. You may also want to invest in a portable pump so you can inflate your tires before heading out on rides.
Additionally, having an Allen wrench set and screwdrivers on hand will help you with emergency repairs when something goes awry. A multi-tool is useful for basic repairs as well; consider getting one that comes with pliers or other attachments if possible.
Cleaning and Lubricating Your Bike

Cleaning and lubricating to free your bike is an essential part of basic bike repair.
To clean your bike, you’ll want to use a degreaser so that you can get down into the small crevices and remove any grime or dirt that may be present on the frame. Try using a soft cloth first, but if that doesn’t work then try using a toothbrush to scrub off any stuck-on grime. If there’s still some dirt left over after cleaning with the toothbrush, reach for a toothpick—it should do the trick!
To finish up with your cleaning process, run some water over every part of your bicycle frame as well as all of its components (like pedals). Make sure not to get any water inside these parts as they could rust and then fall apart in no time at all! After taking care of this task yourself you’ll have successfully kept everything looking fresh; however, there are still more steps we need before our bikes are ready for riding again.
Conclusion
When you’re learning how to do your own basic bike service, don’t worry about being an expert. You don’t need to know every single thing there is to know—just get started and do what you can! If you feel something serious about the brake pad or any other parts, don’t delay to contact a nearby mechanic or workshop. The most important thing is to take care of your bike and keep it running smoothly. With this guide in hand, we hope you feel confident in taking on some projects around the house or working with friends who have asked for help out on their bikes.
Also Read:- Must Have Products for your car


